

Training Zones
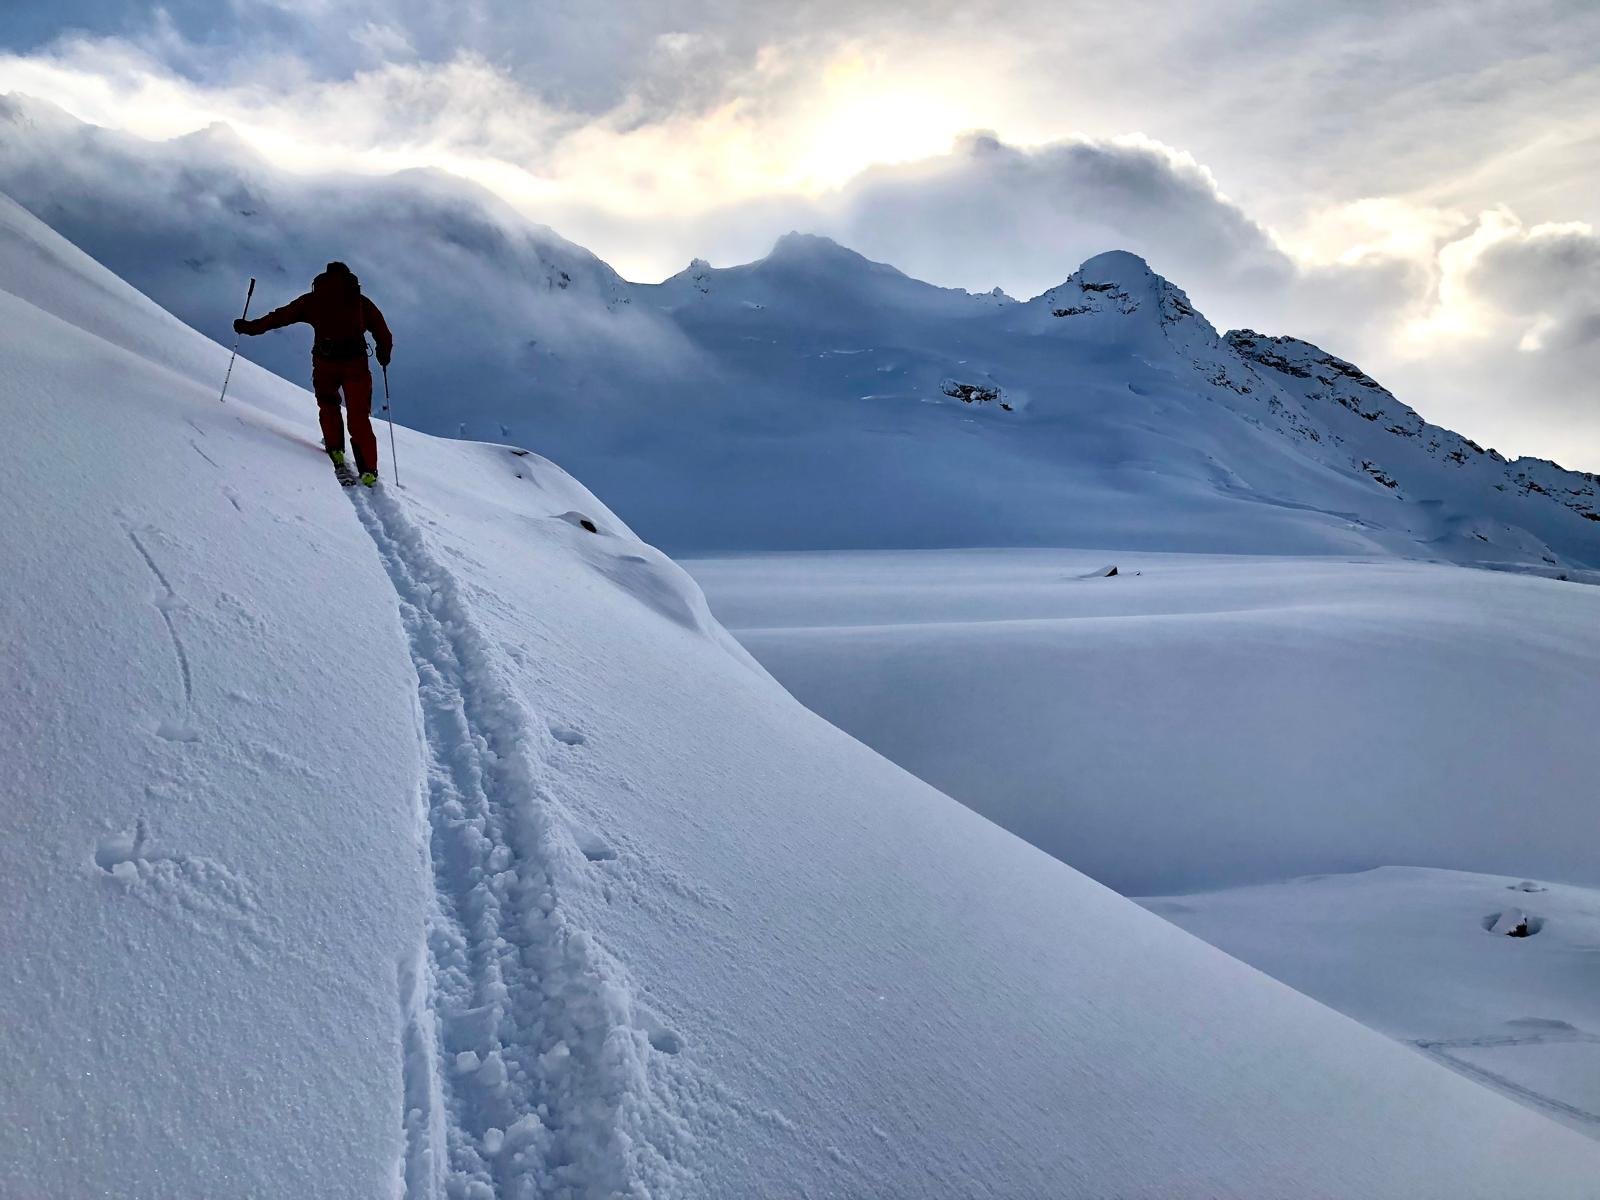
Photo: Dylan Chen
Simple is good.
Critical power, sweet spot, functional threshold power, recovery, ventilatory threshold, lactate threshold, V02 max, Fat-max, aerobic endurance, capacity, tempo, HiiT… there are endless descriptors for training zones. Anywhere from 3 to 7+ zone models are used to describe intensities in the exercise physiology world. It doesn’t need to be this confusing!
Alpine Endurance will refer to the classic 5 zone training model (see definitions at the bottom of Education) at times as that’s what Garmin, etc. uses. However, I encourage you to think about your training in 3 main intensities. These intensities are based on the metabolic pathway(s) that fuels the effort. Fuel source (fat vs carbs/glucose/glycogen) and the pathway that coverts it to ATP, defines how long you can hold an effort for. Alpine Endurance encourages you to think about your effort as Green, Yellow, or Red. 80-90% of our training time will be in the Green and 10-20% in yellow & red zones.
1) Green (zone 1 & 2): At or below your Aerobic Threshold (AT 1). The top of your zone 2 is your AT 1. Set the top of zone 2 HR on your watch as your AT 1 Heart rate. See Get Started to find your AT 1 HR. Fat is your primary fuel source. A duration you can easily hold for hours & hours. During Green sessions you should feel quite comfortable, can talk in full sentences, nose breath for minutes at a time, feel like you could do the same workout again and again, day after day. As your aerobic capacity improves, and you thus raise the intensity you can work at while still being below your AT 1, Green sessions can start to feel like real work. Lactate is relatively steady state. Mostly slow twitch muscle fibers being used.
2) Yellow (zone 3): Above your AT 1 but below your anaerobic threshold (AT 2). Your body uses a mix of fat & carbs/glycogen. This will feel ‘fun-hard’…you’re working, but it’s not painful. The upper end of your yellow/zone 3 is your anaerobic Threshold (AT 2). AT 2 is a pace you could hold for an hour straight if you absolutely had to. Lactate has increased, but is still being cleared. Need to switch from nose to mouth breathing. Can talk a few words at a time, but not full sentences. Referred to as Threshold or Sweetspot by training apps and watches.
3) Red (zone 4 & 5): Maximal effort. Above AT 2. Glycogen is the primary fuel source. More fast twitch muscle fibres being used. Lactate rising unsustainibly. Duration: Seconds to minutes. With longevity/injury prevention in mind and needing to workout the following day, do not go absolute pinned. I go HARD, but if my kids were in danger I could absolutely twist the throttle a bit more. Can say only a single word here and there.
Injury prevention/longevity is key. Stop your intervals when you feel you could *easily* complete another one. Doing intervals until you’re totally cooked is asking for injury. Doing one more set and then having to sit out a month with tendonitis is not in line with Alpine Endurance’s philosophy of consistency and compound effects of training over time.
Youtube video I made explaining thresholds, training zones and how to best monitor them.
“A great coach once told me that doing one session less than you had scheduled is preferable to doing one too many.”
——3 time road cycling World Champion Peter Sagan